Mobile Internet and Van Security
Mobile HotSpot
Working from the road means we need internet most of the time. We are also creatures of comfort and typically wind down each night with a good movie/show/documentary. A lot of the work we do can be done from our phones, but many tasks are made much easier with our laptops. Not to mention watching movies on our phones is not quite as enjoyable. Instead of searching for public wifi to get internet access from our laptops, we just use the personal hotspot on our phones. We have a T-Mobile plan which allows up to 50Gb of high-speed hotspot per month. After 50Gb the speed is throttled but the hotspot is still useable, just not great for streaming depending on our location. What’s cool is that we have 50Gb each to use per month for a total of 100Gb. You can also purchase a plan with a higher limit, but this is usually enough for us.
If you are looking for a more permanent and centralized wifi solution for your van or just something to supplement your phones hotspot, you may want to consider a mobile router. We recently purchased the Netgear Nighthawk M1 Mobile Hotspot 4G LTE Router. This one is a pretty penny, but seems to be at the top of the heap so we decided to splurge on it. The main reason we decided on getting this router is so we could have permanent wifi in the van to keep our SimpliSafe security system running. SimpliSafe requires 2.4 GHz wifi and the Nighthawk provides both 2.4 and 5 GHz. The data plan we got for the router is through T-Mobile as well (we may actually switch carriers for this so we can have the option of different coverage) and costs us $50 for 50Gb of data per month. 50Gb is much more than we need for the SimpliSafe, but the value was better for more data, and it’s super convenient to connect to. Plus, if we ever decide to install a fixed SmartTV the router would be a convenient internet solution.
Our friends Skip and Jazz also let us know about another more affordable option using a service called Visible. Depending on your situation, this sounds like it would be a great option as well. Check out their post about it here.
SimpliSafe
We were originally drawn to the SimpliSafe security system for their video monitoring solution. We loved the idea of being able to see our son Tonkin’s while we were away and had to leave him inside. With a comprehensive burglary detection system and other great options like temperature monitoring, we felt like this was a great fit for us!
You can customize your system based on your needs with the following devices:
indoor and outdoor cameras
entry sensor
glass break sensor
motion sensor
panic button
extra siren
video doorbell
temperature sensor
water (leak/flood) sensor
Carbon Monoxide detector
smoke detector
To control the system they offer a keypad, key fob, or you can use the app.
SimpliSafe offers 24/7 monitoring and emergency dispatch for a monthly fee, but is based on your address which wouldn’t really work for mobile applications. If an alarm is triggered, a siren will sound from the base station (secondary siren also available) and we will immediately be notified through the SimpliSafe app. The app also gives us access to a live feed from the camera(s).
base station power
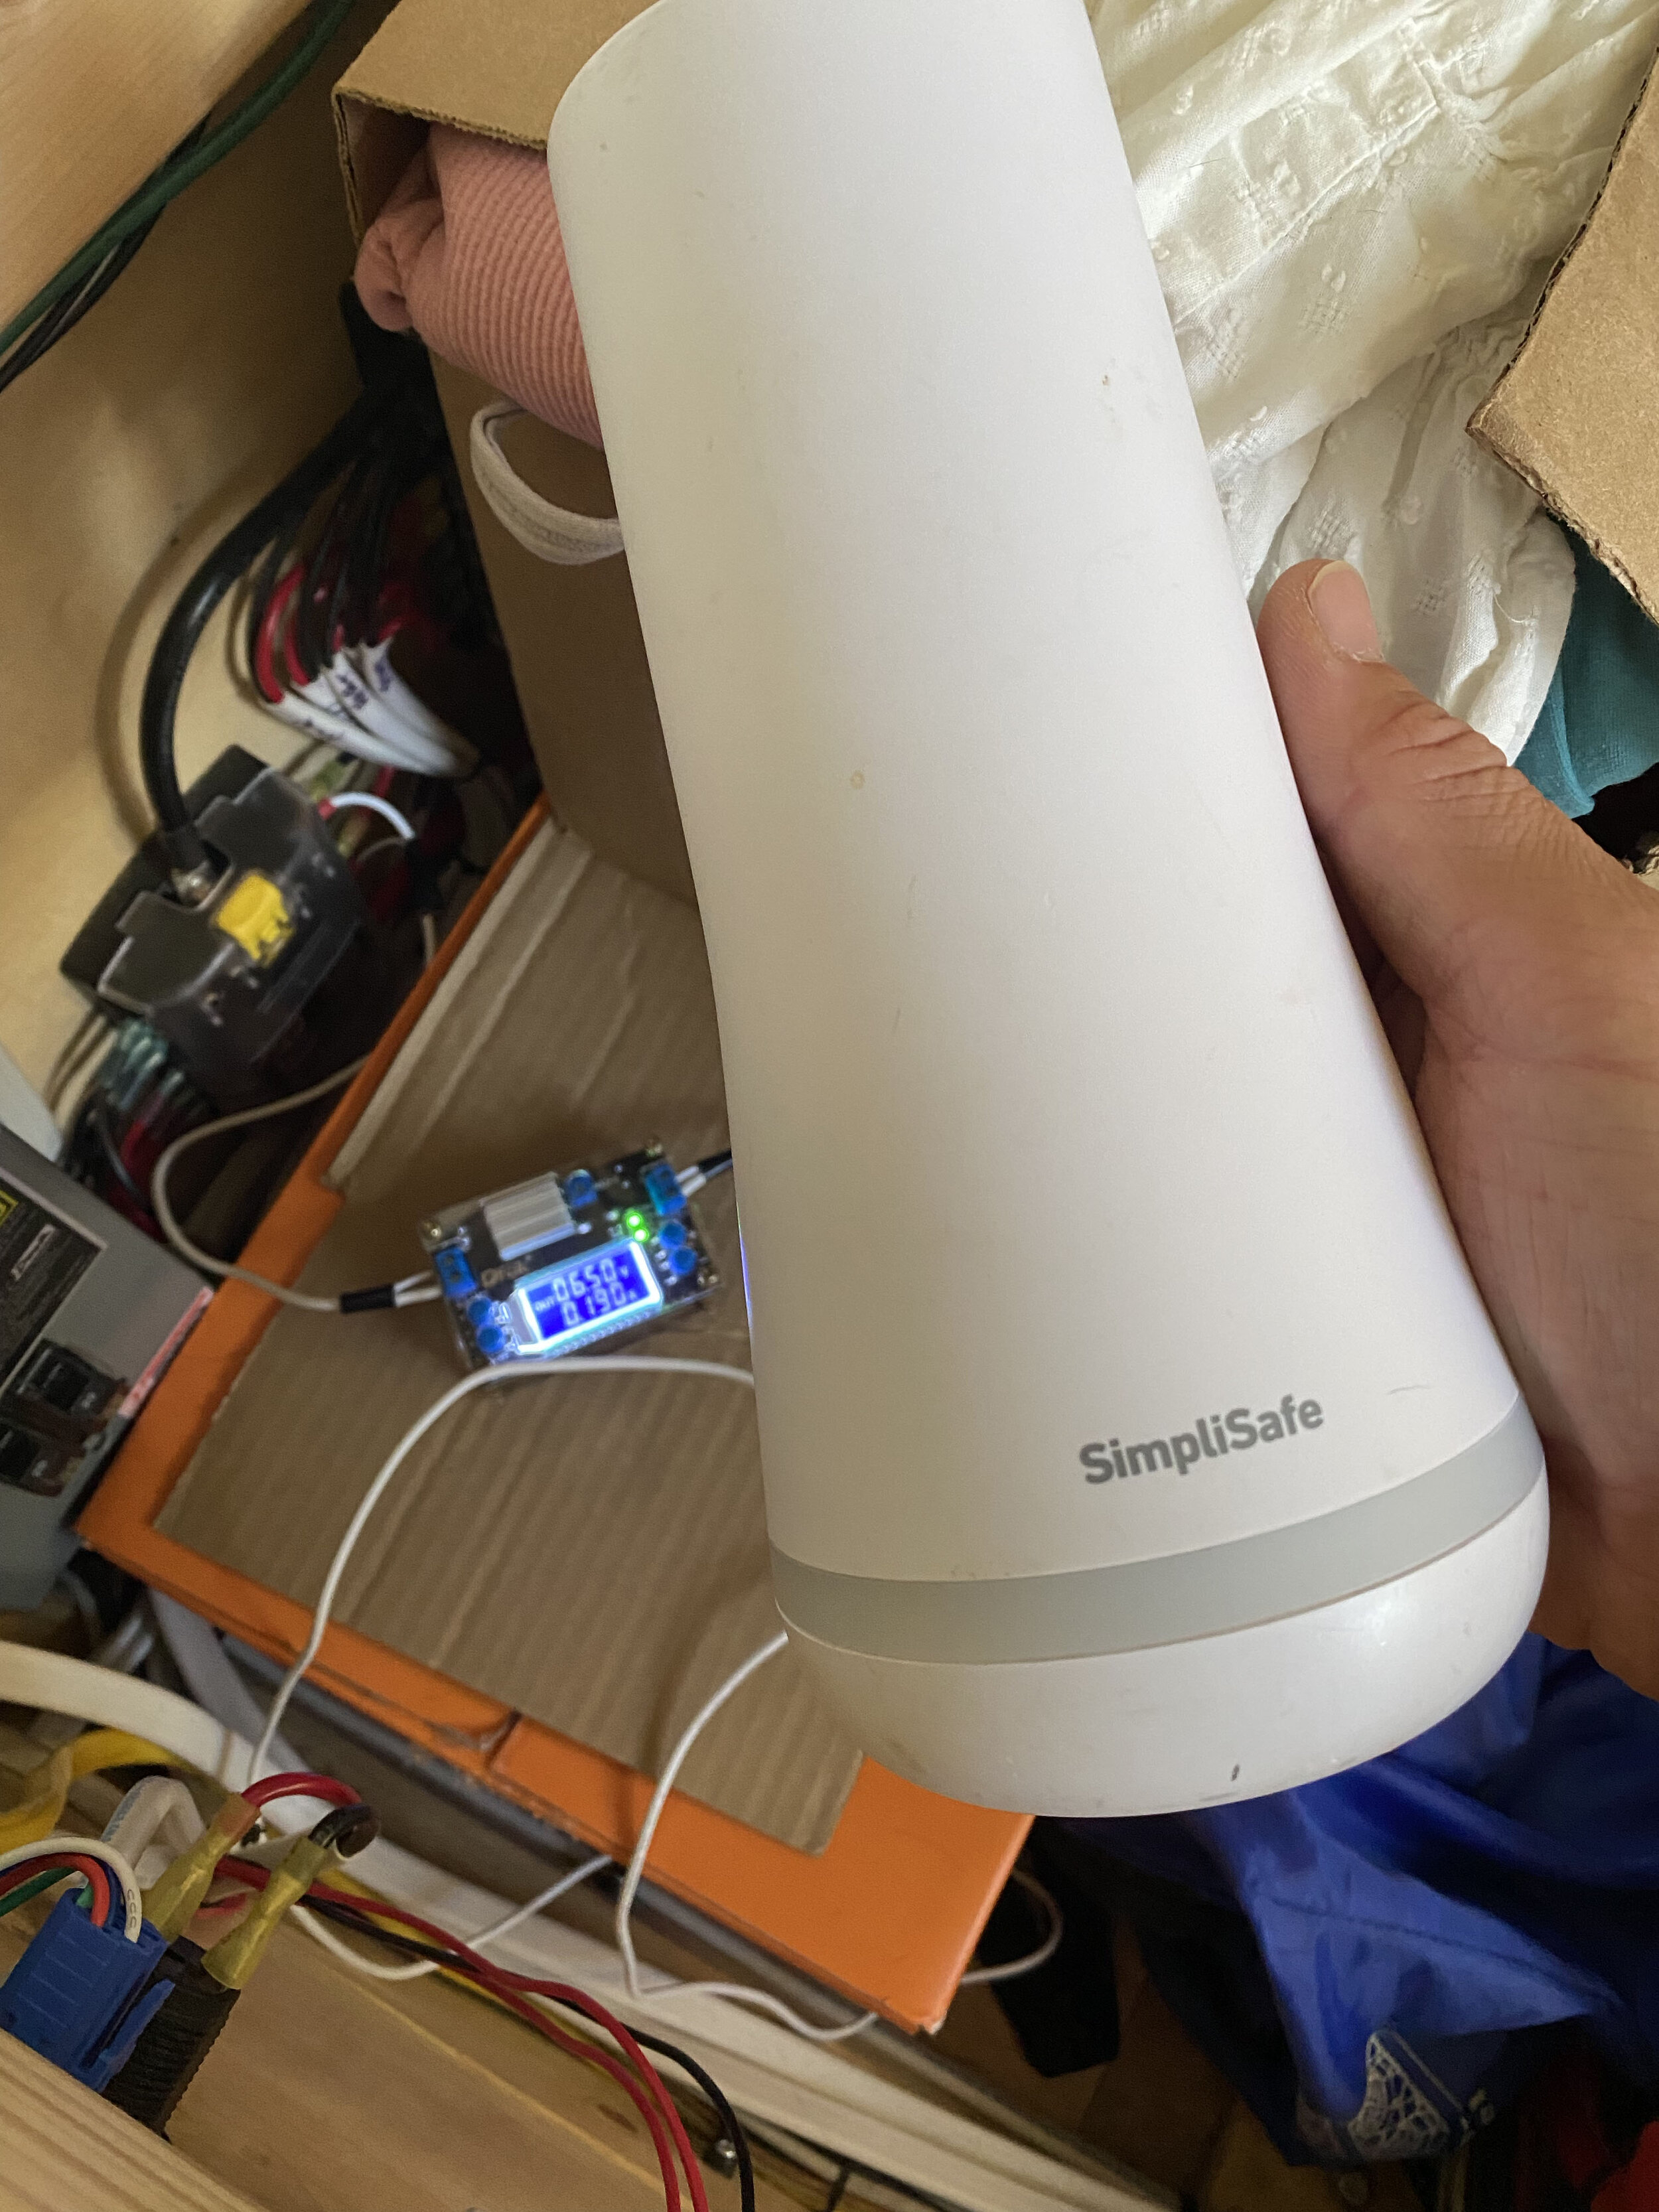
At the heart of the SimpliSafe system is the base station. The plug-and-play nature of this system only really works if you are someone who leaves your inverter on indefinitely (which is not very energy efficient) as they only provide a plug for an AC outlet. Although there is a small internal backup battery, it will eventually shut off after being disconnected from power (complete with annoying lights and sounds that are a friendly reminder that you’ve lost power).
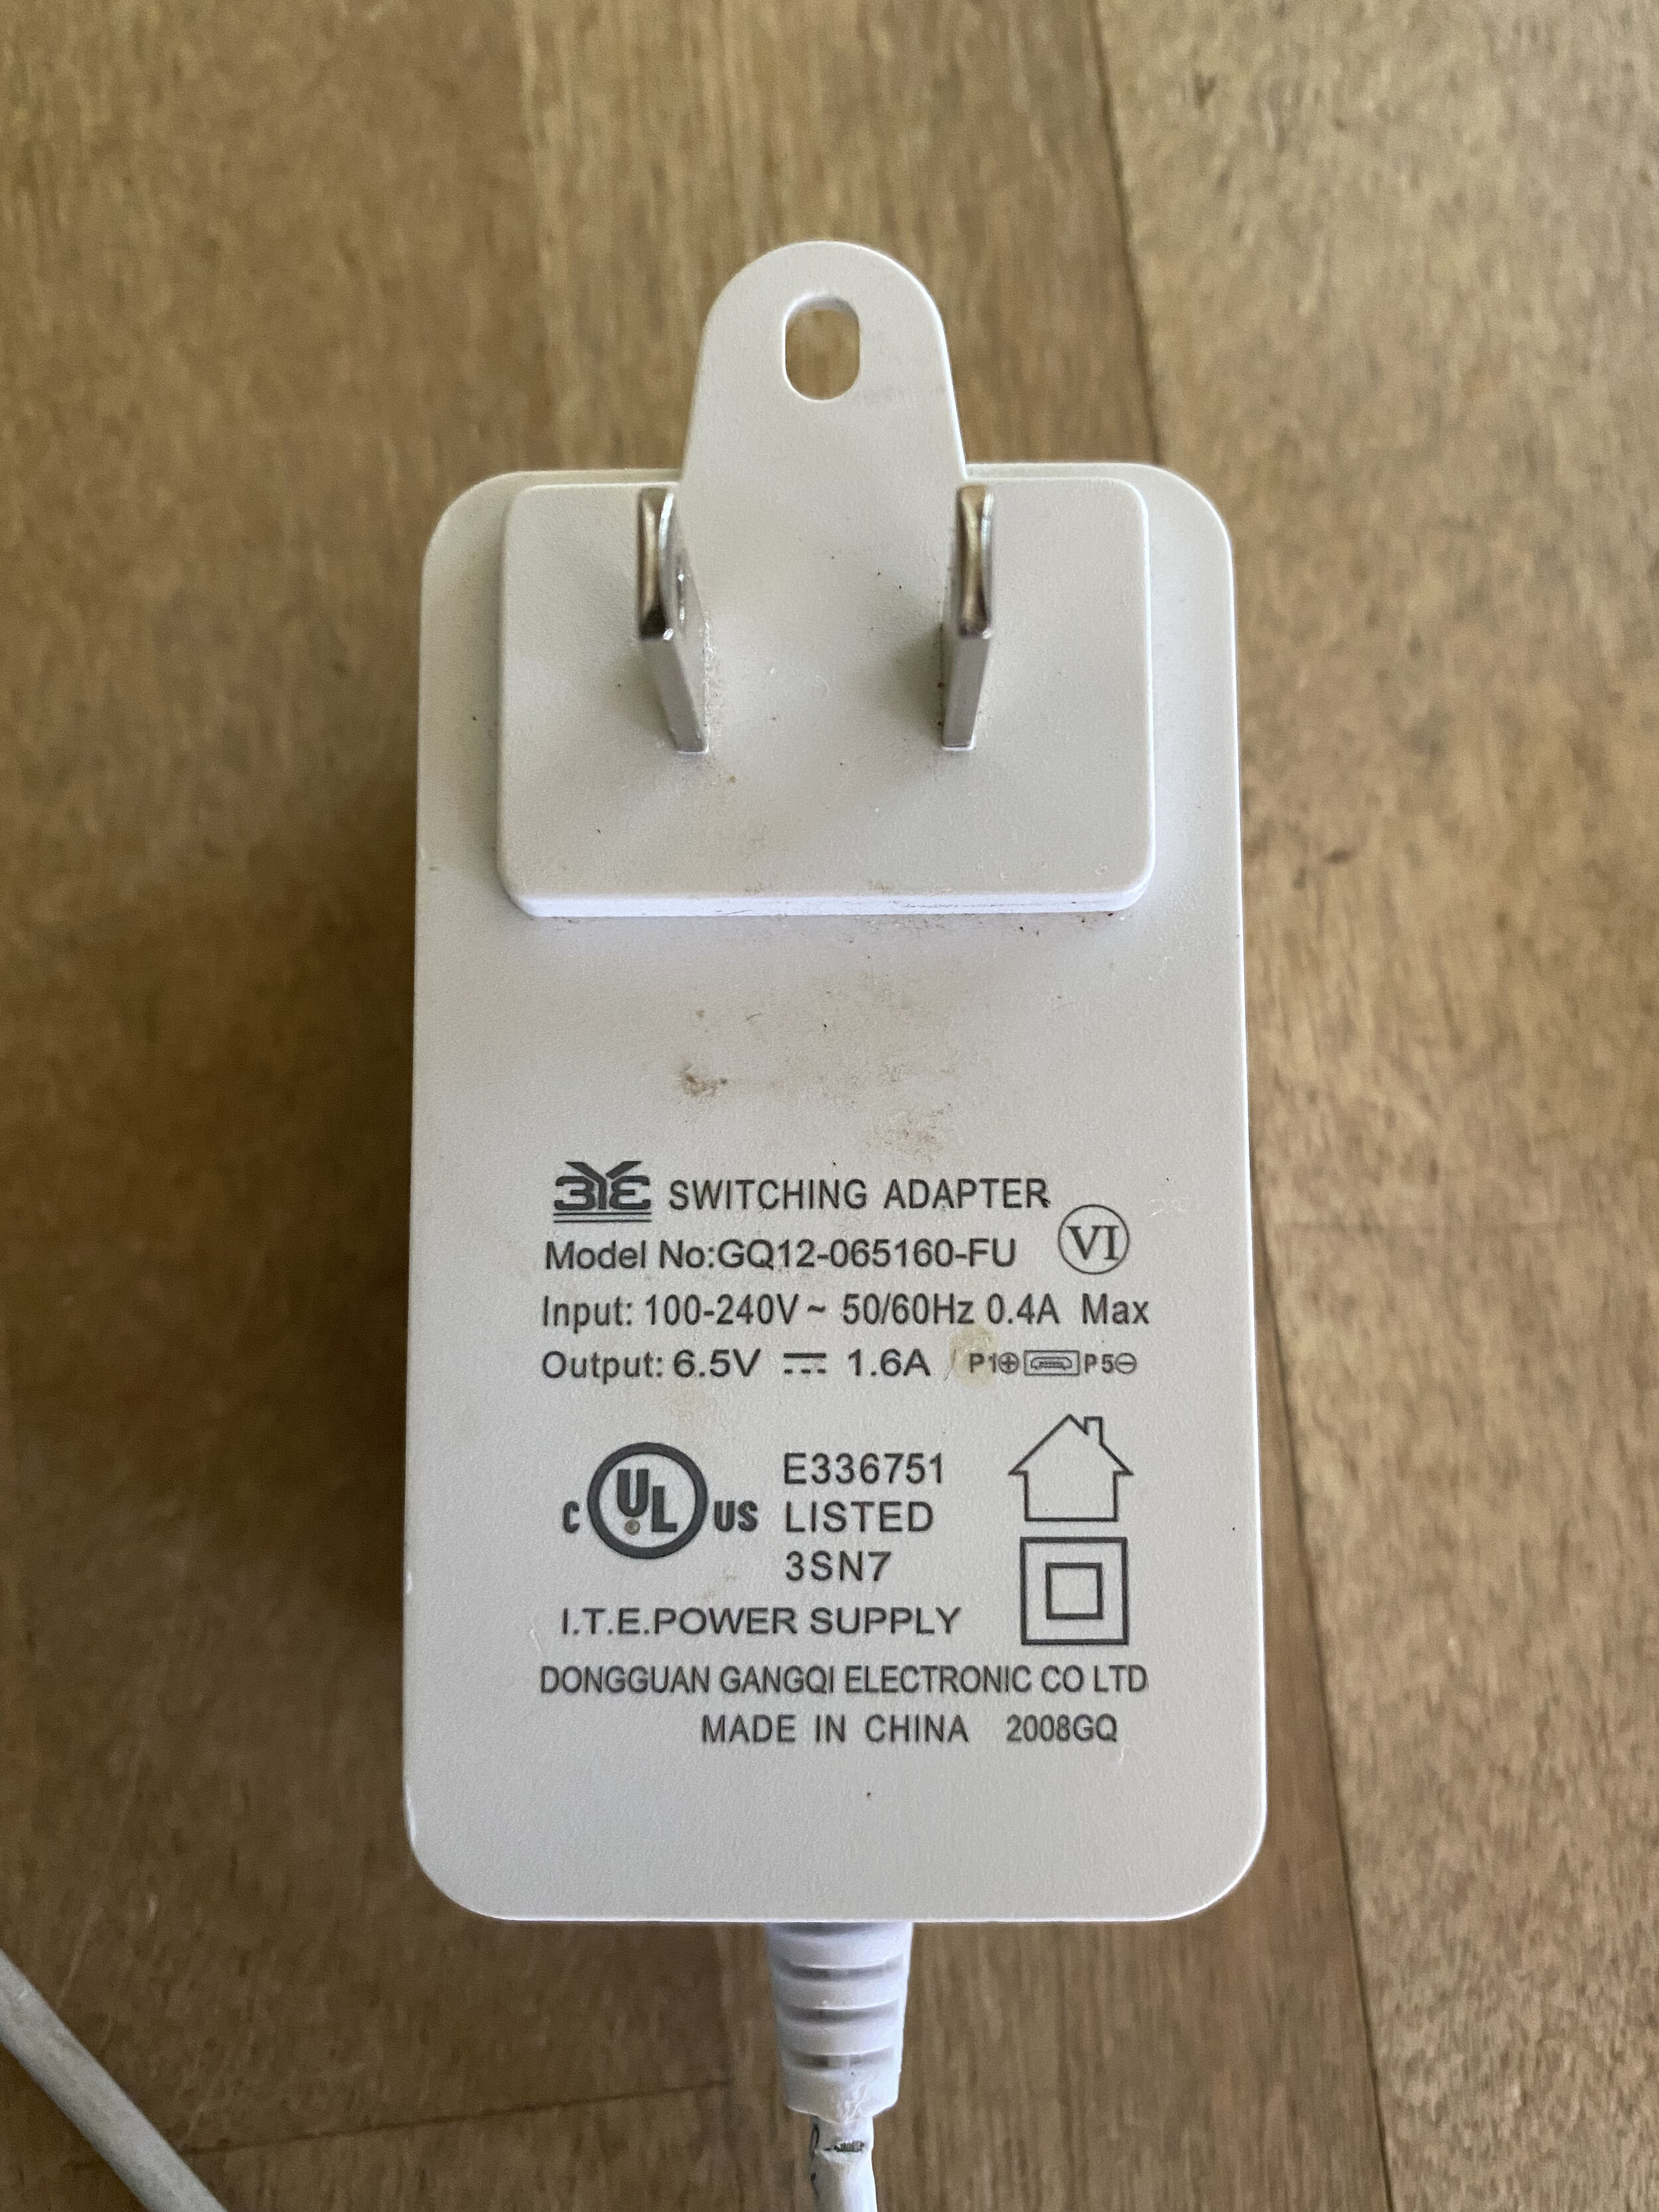
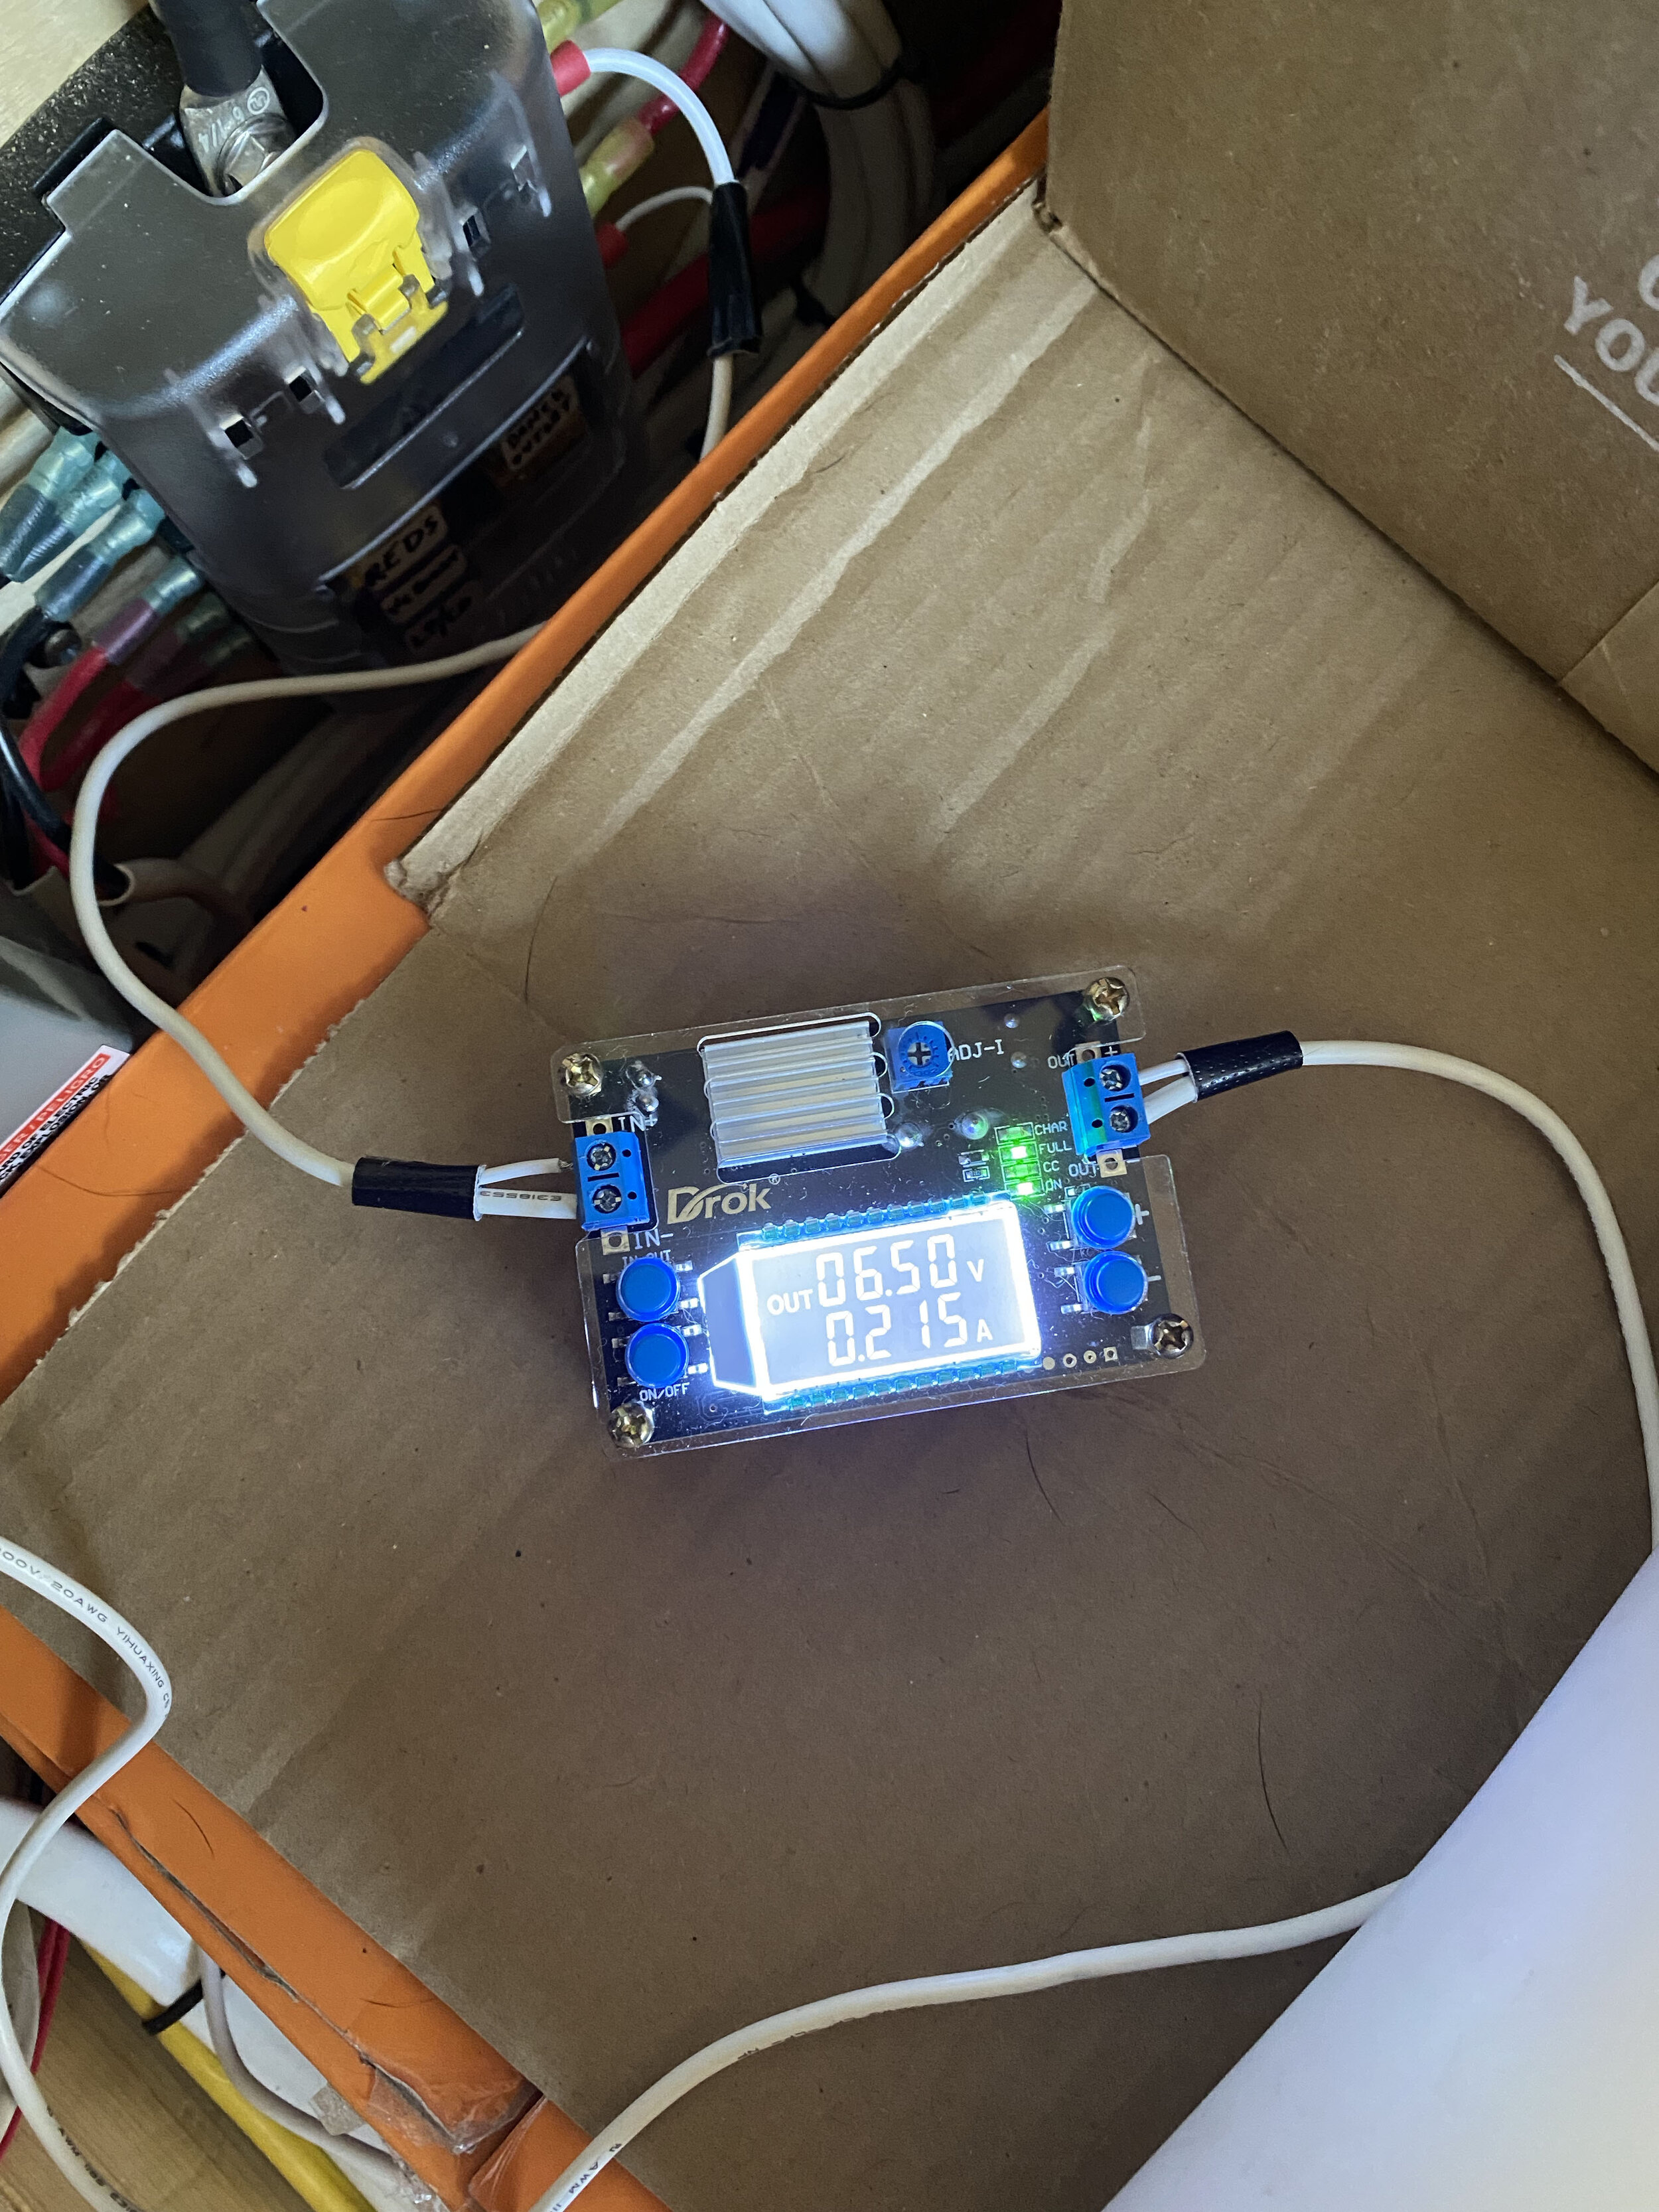
We’ve been told it’s possible to power the base station from a usb outlet, however we don’t have a micro usb plug that will fit the oval-sized hole in the bottom of the unit. We also wanted to hardwire it and locate it out of sight. This next section goes into detail about how we did that. So although there may be other ways to get power to the base station, this way works for us! It was also pretty fun to set up, right down to assembling the converter itself which came in pieces. This method uses a DC Voltage converter to drop the supply voltage down from our batteries (12V) to what the base station requires (6.5V - provided on the plug).
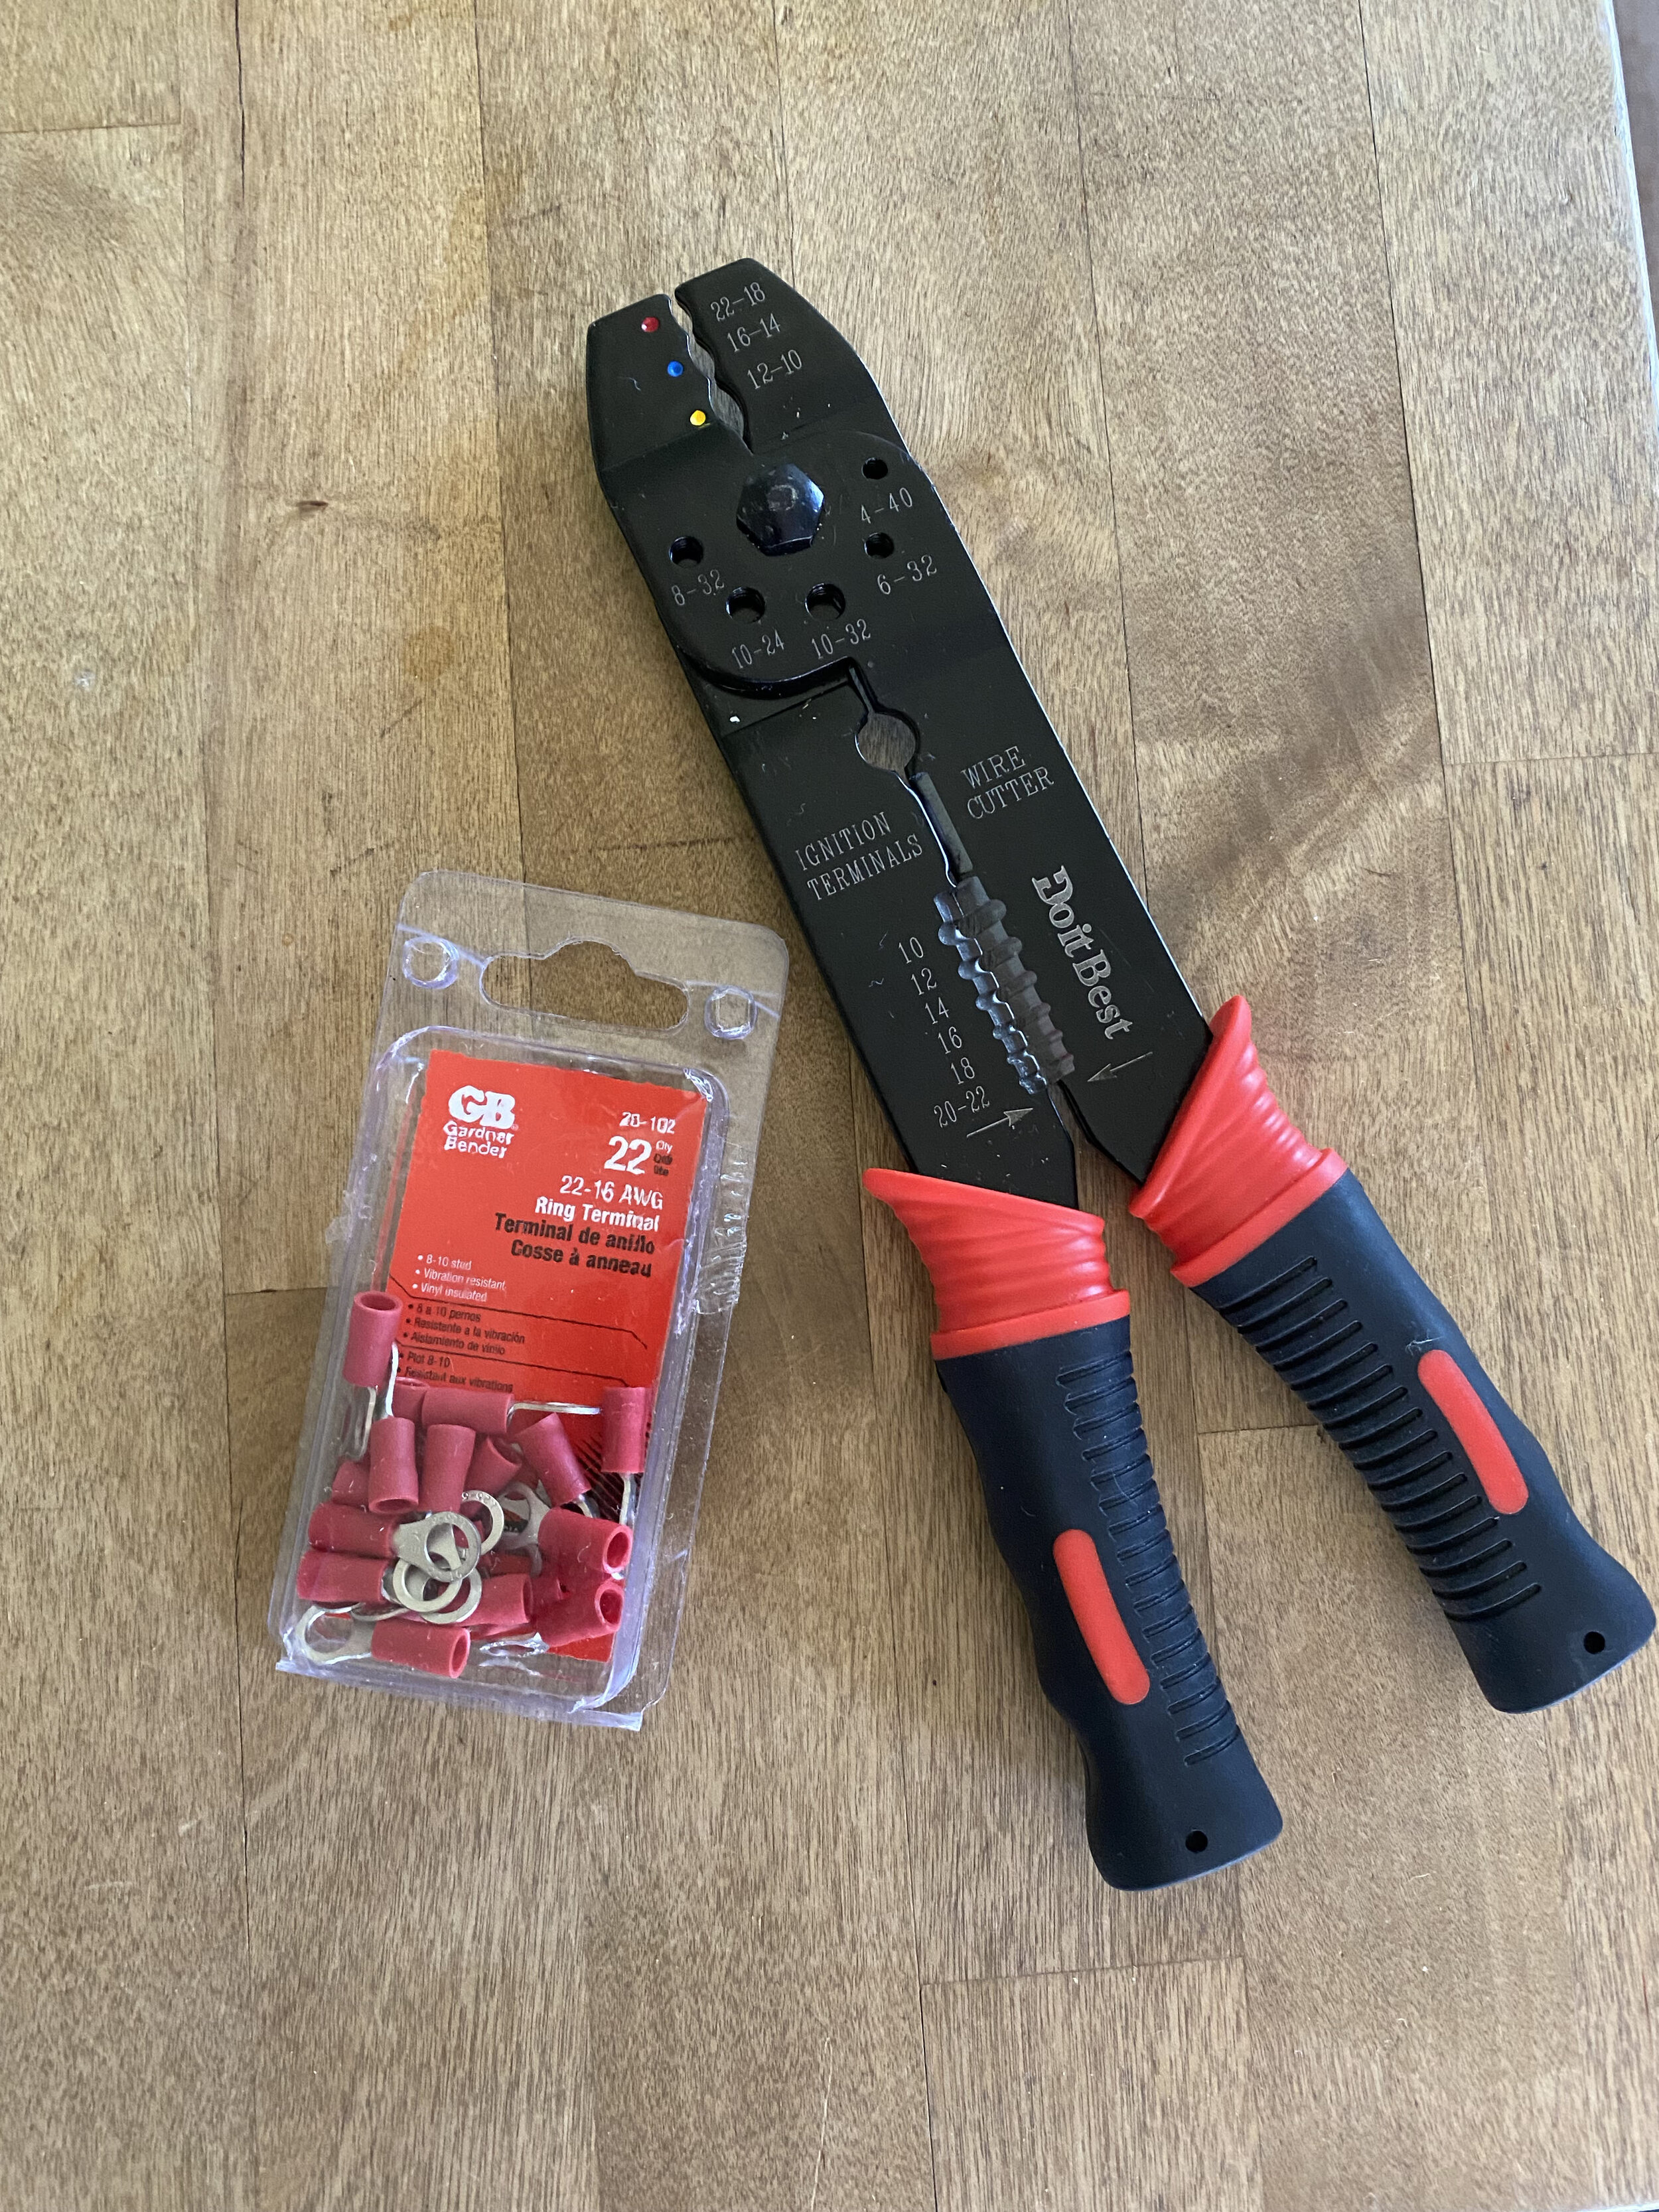
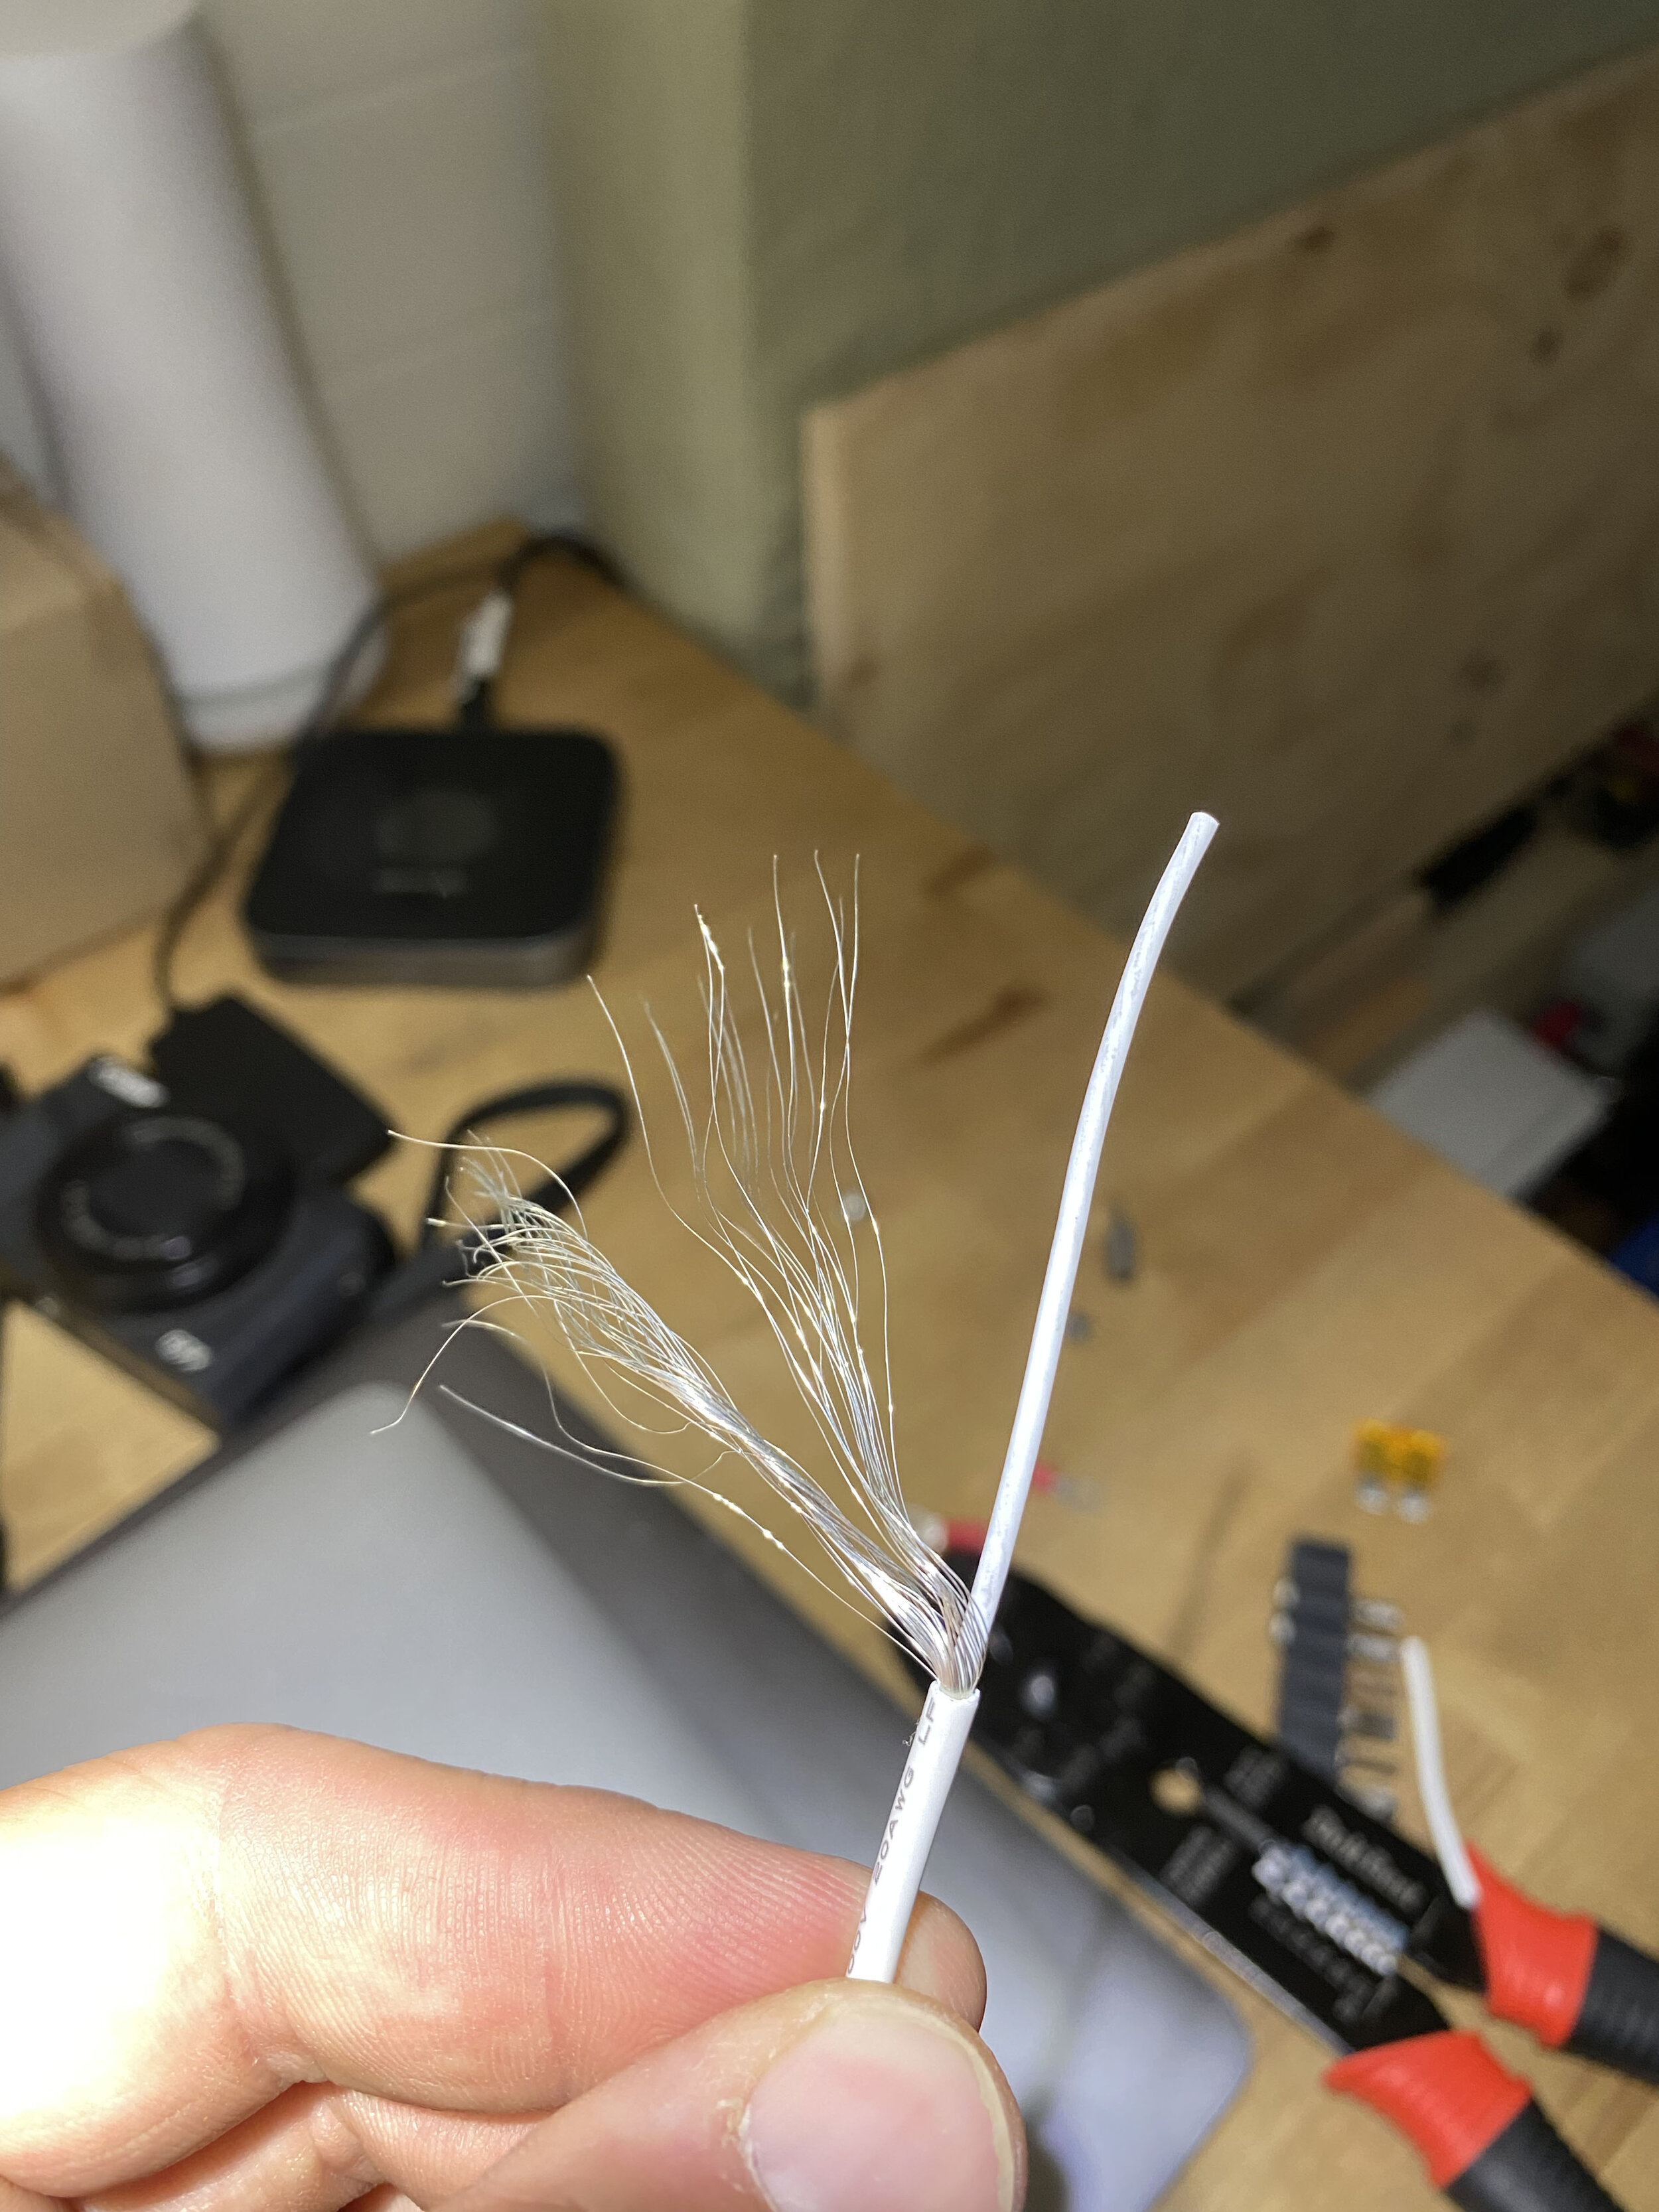
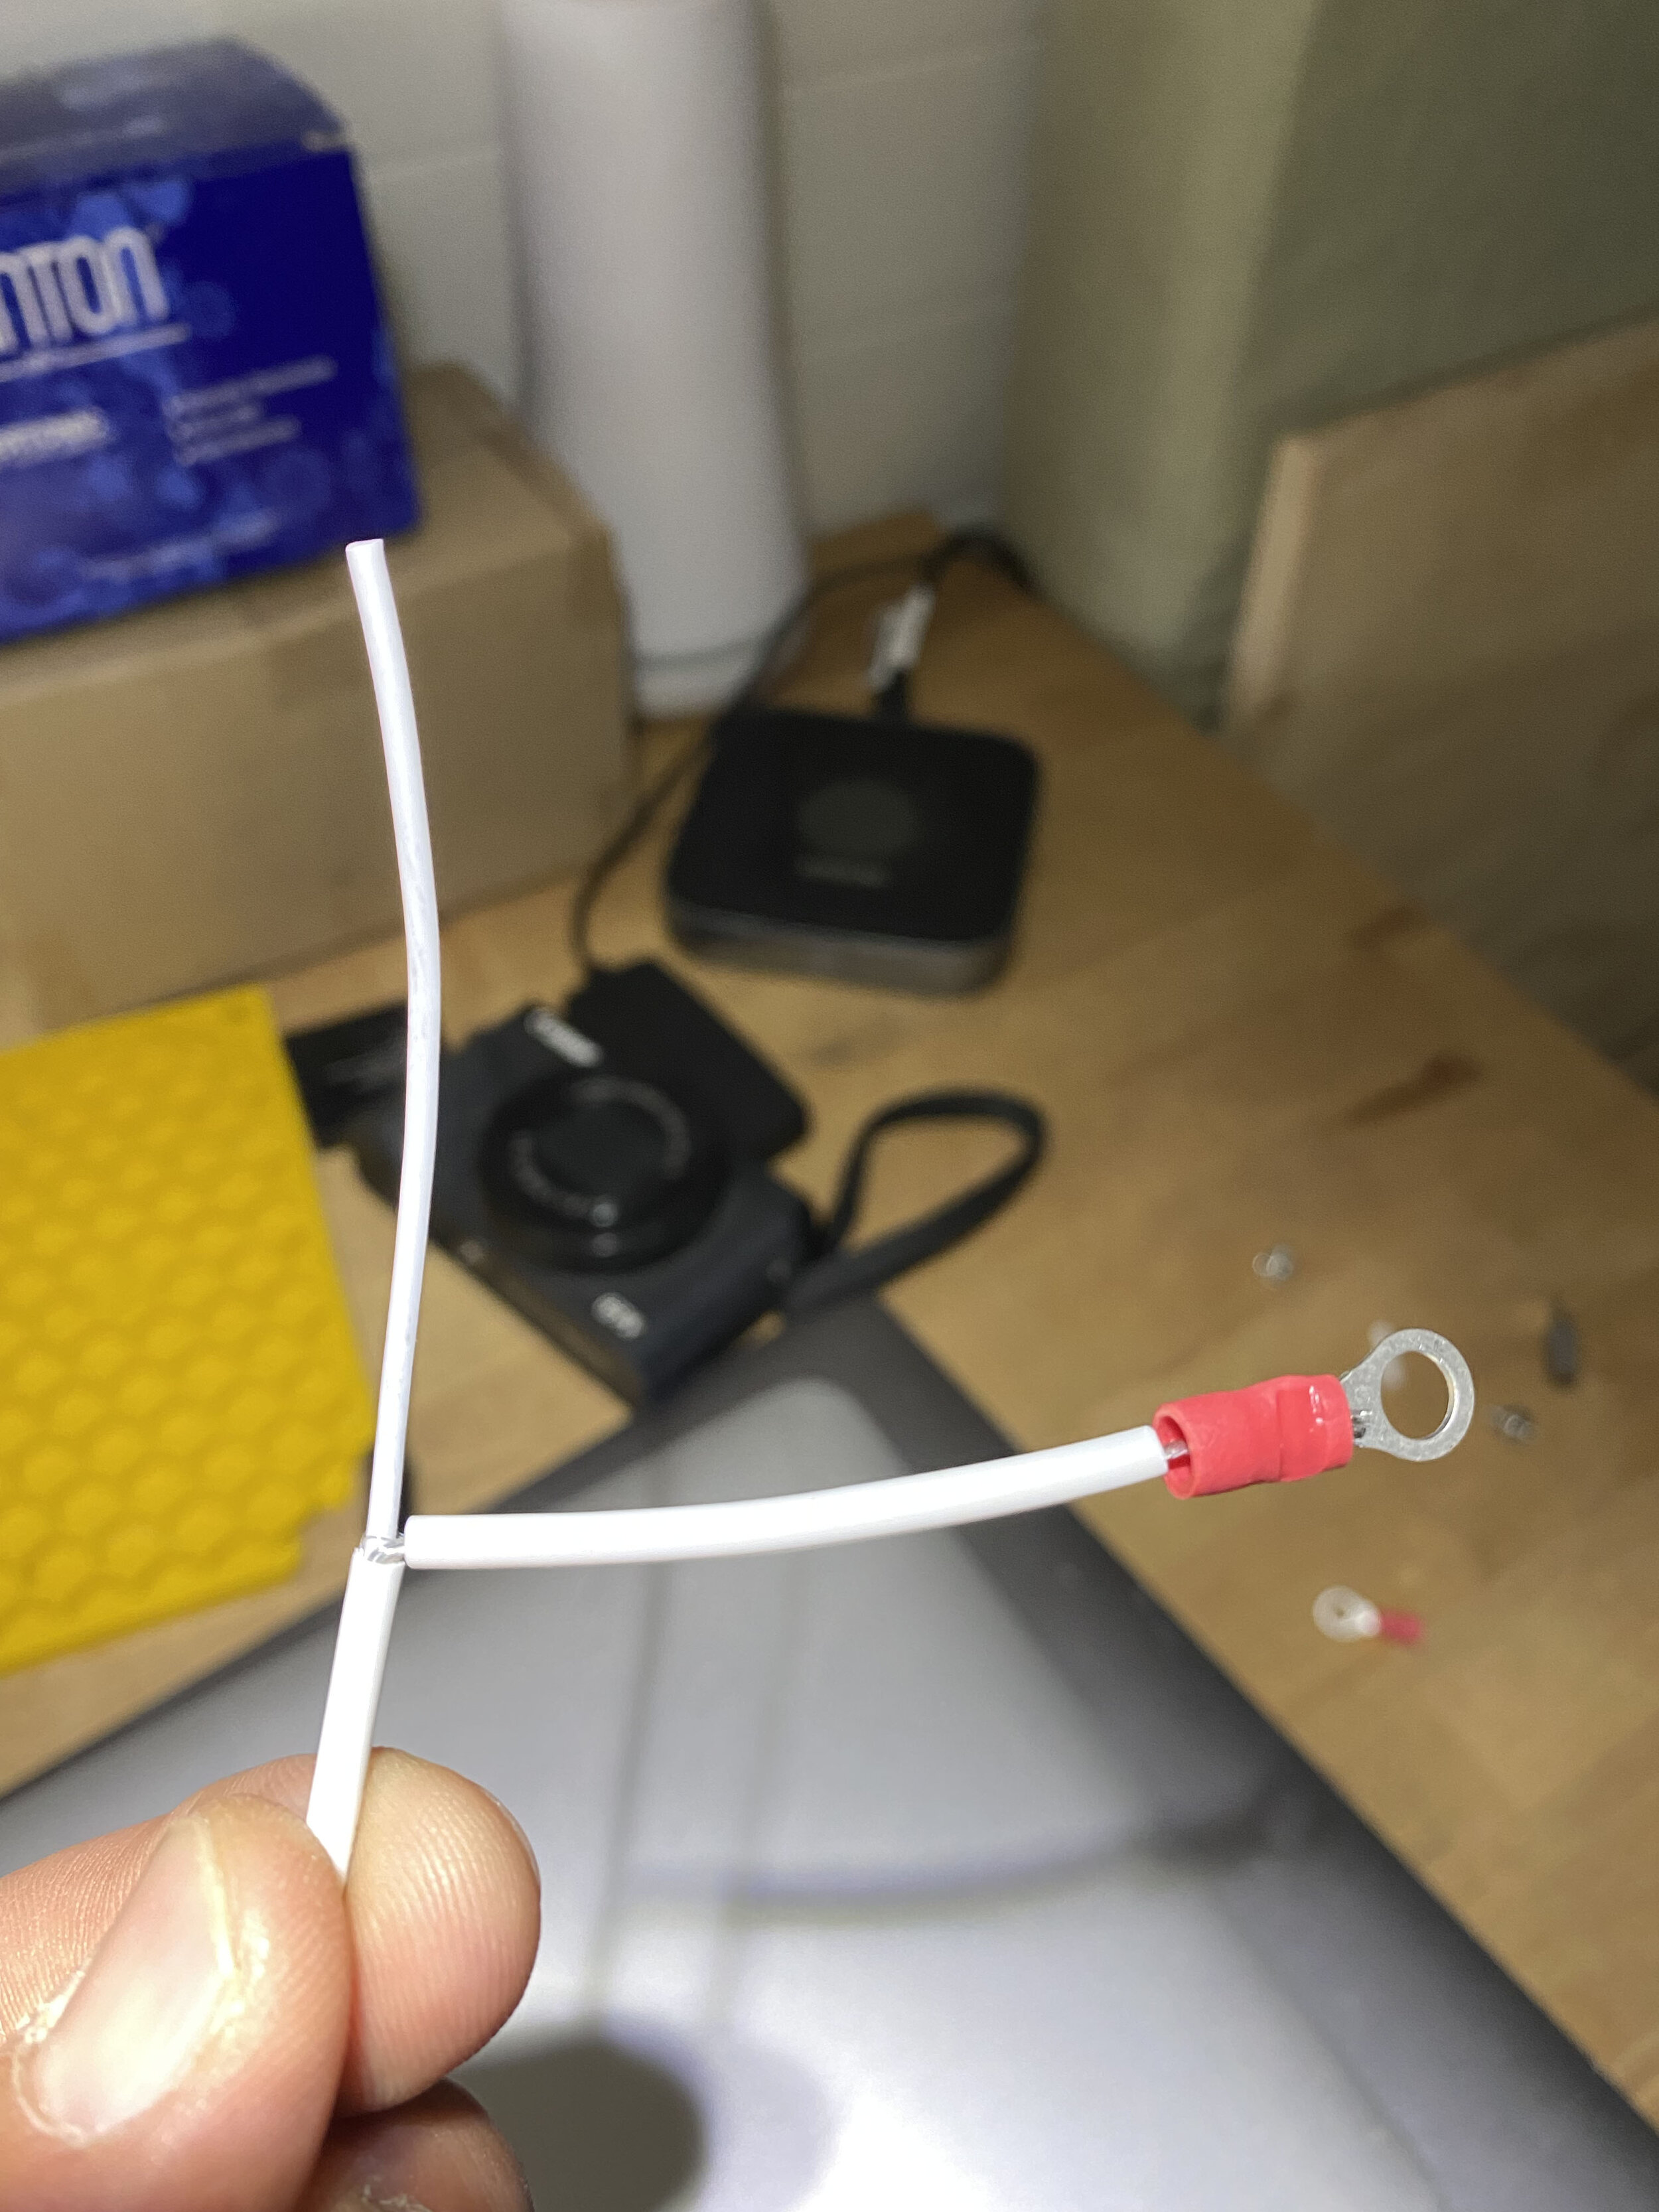
As we are on the road now and I didn’t bring any tools with us, we stopped by a local hardware store and picked up a $10 wire cutter/stripper/crimper tool and a pack of ring terminals (22-16awg). A small phillips is also required which I had on hand. After cutting the AC plug adapter off the end of the wire, I stripped the outer jacket off and pulled the exposed strands off to the side. This is not a type of wire I had seen before, but those are the negative strands and the positive strands were in the inner jacket. I used the jacket that I removed to cover the exposed negative strands and crimped a ring terminal on the end, and then did the same with positive wire. After connecting to our 12v fuse block I wired up the converter, added a fuse and set the voltage to 6.5v. Then after connecting the base station, I adjusted the potentiometer (from 0) up until the led on the converter switched from ‘charge’ to ‘full’. This limits the amount of current that can be drawn from the powered device which would be more properly adjusted with a multimeter.
Signal Booster
Service can be a little spotty and weak when traveling through more remote locations. For this reason, we decided to invest in a signal booster and purchased the WeBoost Drive X. Keep in mind that a signal booster is just that, it boosts the existing signal. If there is no service where you are, there is no signal to boost and the booster will not be of any use. The kit comes with a ‘repeater’ antenna that is used inside to spread the amplified signal. The one quirk with this system is that you must be within 2ft of the antenna to benefit from the boosted signal. We just keep the antenna loose so we can move it around where we want it. This is also another advantage of having a mobile router as you can just keep it close to the antenna.
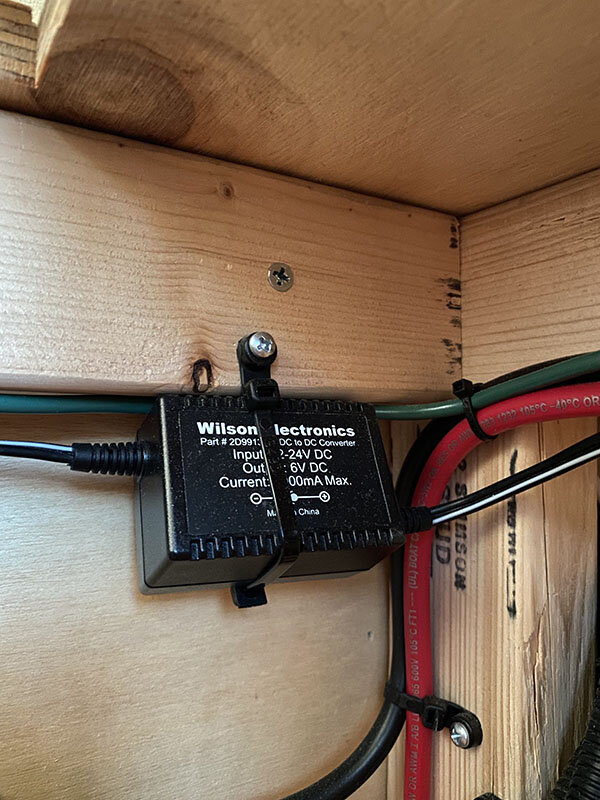
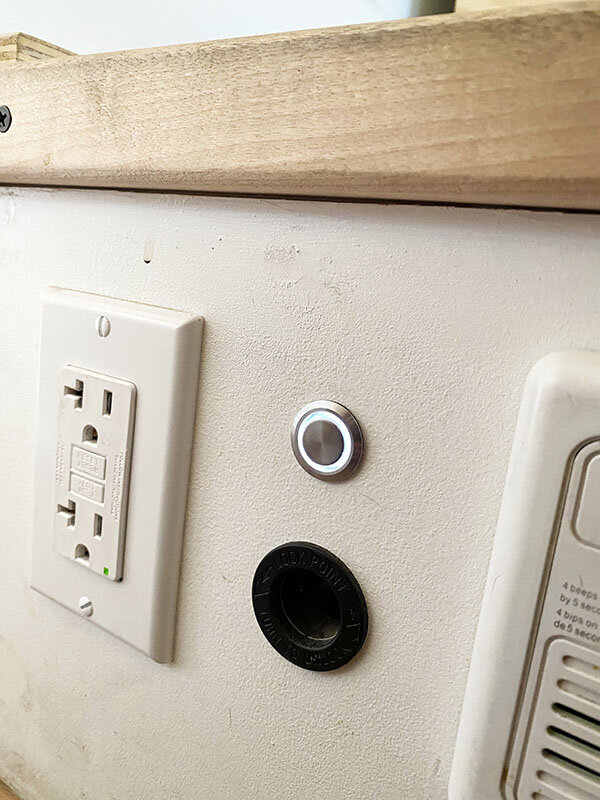
To power the unit WeBoost provides a 12V ‘cigarette lighter’ plug. For a cleaner install we cut the plug off the end and wired it through a push-button switch (and pigtail) and directly to our 12v fuse block. If you go this route, be sure to keep the transformer block intact. Just like the SimpliSafe, the WeBoost requires a lower voltage than what our batteries put out.
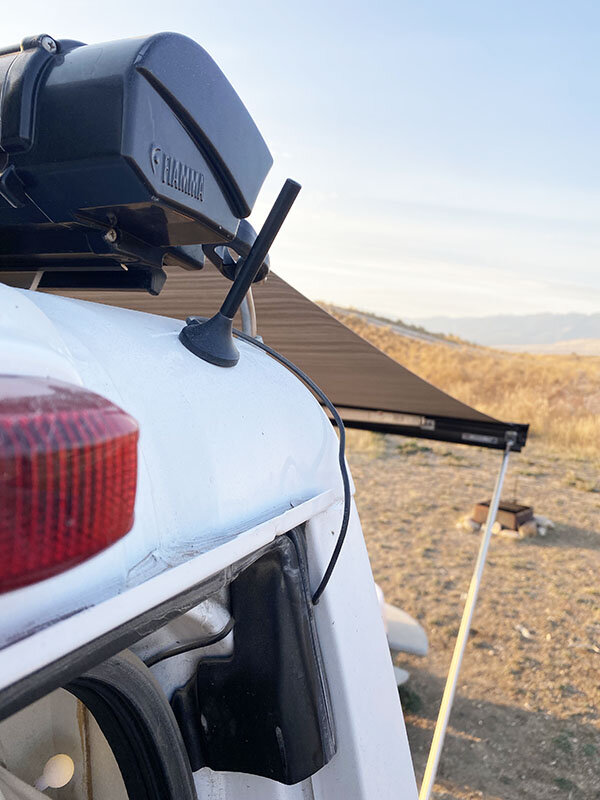
The signal antenna provided should be mounted on the center of the roof. However, we have ours positioned in the back corner of our roof and it has been working just fine. We just ran the wire under the weather seal of the back door. The antenna is held in position with a strong magnet and has stayed put since it’s been up there.
Although this one has done pretty well for us, we may look to upgrade at some point. This is mainly due to the small antenna provided with the Drive X. You can check out the Drive Reach and decide for yourself. Let us know in the comments if you have had experience with comparison between the two.


