Building Cabinets
I have worked on a few projects as a kid helping my family or building skateboard ramps, and I know how to operate most power tools, but my overall experience with woodworking is not too extensive. I have learned so much by researching and getting hands on with this build that it has given me a lot of confidence in what I’m doing and inspires me to try new things and start on other projects.
Given our situation living in the van, the first thing we wanted to do after installing our floor and ceiling was to put in overhead cabinets. I had ran some pretty minimal 1x2 furring strips on our walls and ceiling to attach the cabinetry to, but that was all I really needed. I attached the cabinets to the wall along the single horizontal furring strip, and at each point that I had the furring running across the ceiling.
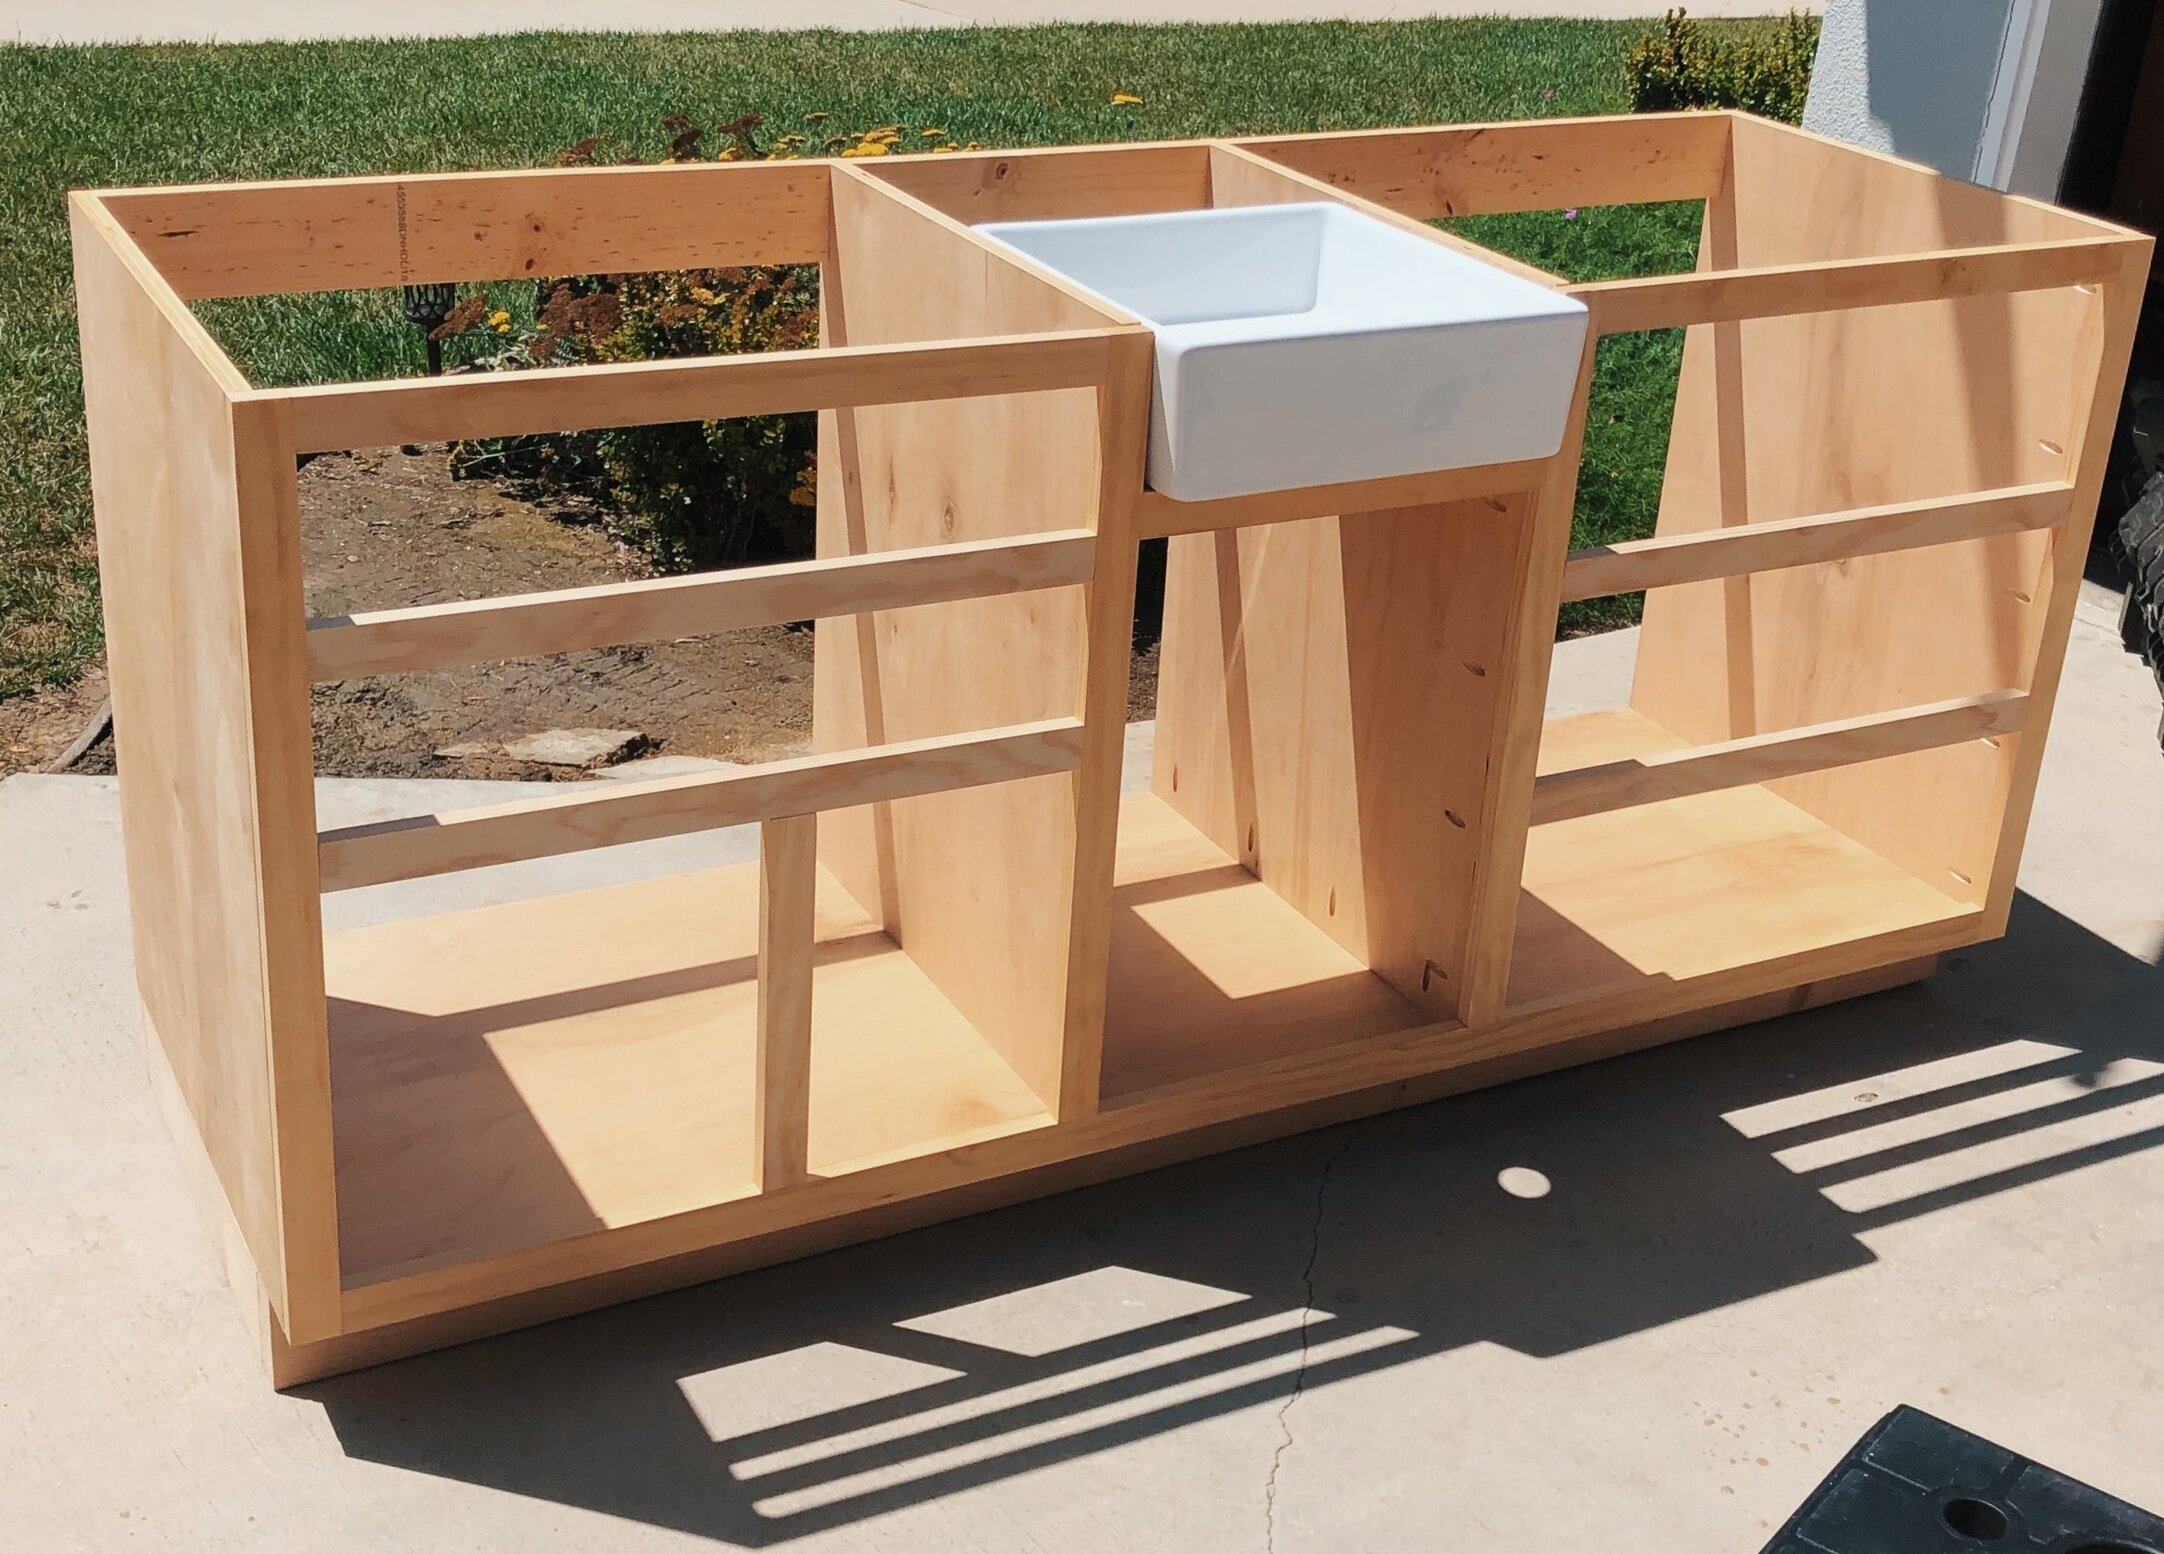
We decided to go with face frame cabinets for our build. We think it’s a nice professional looking design that makes our van look a bit more homey. This is basically a cabinet carcass, or box, made with a frame that attaches to the front to make a cabinet face for the doors to overlay.
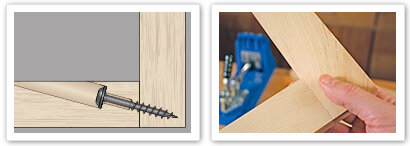
For all of our cabinet joinery, I used butt joints with pockets holes to glue and screw the pieces together. There are better ways to do this, but being a beginner I felt this was the best method to use to make simple strong joints for our cabinets. If you are new to pocket holes, get ready for some fun! Pocket hole joinery involves drilling a hole at an angle into one workpiece, and then joining it to a second workpiece with self-tapping screws. It makes a simple and strong joint, glue is optional, and there’s no need to leave your joint clamped up for hours. I used the Kreg Jig K4 to make all of my pocket holes. This is an important first purchase for any build. You will use it for a ton of projects. There is a screw finder guide on the website or listed on the products to make it easier to find the right screws for your project. I used the smaller pan-head screws and Micro Jig for all my 1/2” material. Be sure to use the right thread for your project as well: course for soft and plywoods, and fine for hardwoods.
I used 1/2” plywood to build the carcass for the upper cabinets. It’s important to keep your materials and your storage items that are sitting up high in the van light-weight. It was a little difficult and time consuming to get the right pocket hole and screw combo to work with such thin material, but after a lot of trial and error I found a few combinations that worked with the different joints. We decided on a 14” cabinet depth and height for all of our upper cabinets. This gave us a good amount of room for storage without sticking out or hanging down too far from the wall or ceiling. I started with the ends and dividers as the main supports using a single template made from the contour of the van wall, slanted corner, and ceiling. I wanted to keep the face and floor of the cabinets as level as possible while following the irregular angles of the wall and ceiling. Once I made the first section, I used it as a template to make all the others. I then cut the cabinet bottoms to the 14” depth of the dividing sections and then to the lengths that we wanted. Then I attached the dividers to the cabinet bottoms. Once that was done, I ran 1x3 hanging strips along the back and top of the cabinets between each divider. This gave me a place to run my screws to hang the cabinets on the wall and from the ceiling. From there, I built the face frames using 1x2 and attached that to the front face of the cabinets. We were attaching the cabinets to the unfinished walls, so we wanted to add a backing. We just used 1/4” plywood and narrow crown staples to attach them. We ended up painting the cabinets after they were all assembled and hung, which proved to be very difficult. Next time I would definitely paint each section of the cabinet before assembly. We decided to run cabinets along the entire length of the driver side which is around 11 feet in length. To accomplish this, we built two separate cabinets and installed them side by side. We also attached the two together with screws to better join them.
Base Cabinets
For our kitchen cabinet, I mostly used standard kitchen dimensions for depth, toe kick, etc. I got some very useful information from this article. We basically used 2x4’s to build the cabinet bases, and built the carcass from 3/4” plywood the same way we did the upper cabinets, using a single bottom running the length of the cabinet, and upright ends and sections using pocket screws and glue, then added the face frame made with 1x2’s. The cabinet carcass was built with one sheet of plywood, even the 1x3 supports. The article I linked actually shows all the cuts, we just tailored it to fit our needs. For the cabinet backing we just used 1/2” plywood.
We designed the kitchen cabinet sections and openings to accommodate our sink, water heater and cooktop. We measured the middle section of the cabinet just big enough to accept our 14in sink, an ran 2x2 supports on each side below to cradle the sink so that it would sit flush with the top of the cabinet to meet the countertop. I also installed a wooden dowel in one of the 2x2’s to to fit in a hole in the bottom corner of the sink to keep it in place. The water heater sits on the cabinet floor just below the sink, and our cooktop fits nicely in the right section leaving room for 3 deep drawers below. We ran all of our electrical, plumbing, and propane lines through the cabinet base under the cabinet itself. We also installed our Propex heater inside the cabinet base. We cut a hole in the cabinet floor above the heater to allow access and a little extra clearance, and also made a cutout in front of the water heater to run plumbing, propane, and electrical to the water heater and faucet. The propane and electrical for our cooktop was ran through a hole that we cut in that section through the cabinet floor at the back corner.
We designed the other base cabinet much differently. It was built to house our standing refrigerator/freezer and slide-out toilet. We started with 2x3 lumber for the frame of the cabinet with a 2x2 to divide the two sections, and then used 1/2” plywood to cover the frame. I made the cabinet just tall enough to accept the height of the fridge. To keep both cabinets at the same height, we used this measurement for the kitchen cabinet as well. We added a drawer at the bottom to mount our Nature’s Head Composting Toilet. We used heavy duty slides to withstand the wait of sitting on it. The toilet is ventilated though an air duct that we ran through the floor to the underside of the van. We kept the drawer short in the cabinet to leave room for the air hose to enter the floor behind the drawer. After determining the height of where the toilet was going to sit, we added a 1x2 to section off an opening for a drawer above. We also put in a couple of vents to circulate the air behind our fridge.
Shaker Cabinet Doors and drawer fronts
We went with shaker style doors and drawers for all of our cabinets. This consists of a frame, usually made with 1x3 stock, surrounding a door panel. There are two ways you can accomplish this: with, or without a router. I actually used both methods in our build. Before I decided to buy a router, I wasn’t really sure I wanted to spend the money, and I really wanted to get these doors going. So for our upper cabinets, I just used the same pocket hole joinery that I did for the cabinets themselves. I used 1x2 for the frames on the upper cabinets because I liked the look of the thinner frames up high, but actually ran into some problems installing the hardware. It worked out, but I would stick to 1x3 stock next time.
Pocket Hole Method
This diagram shows the back of the door using pocket holes to build the frame and attach the door panel.
Door Front
The door front will look similar with both methods. The main differences being the chamfered edge on the inside of the frame and the door panel thickness.
Router Method
Using a matched set of Rail and Stile router bits, you can make professional cabinet doors with tenon joints, a chamfered edge, and an inset door panel.
By the time I got to building the base cabinet doors, I had decided to purchase a router and table. I thought it would be an essential buy given that I wanted to use it for other projects throughout the build including round-overs on our counter top edges and cutouts, our table, the cabinet doors, and drawer tops as well as to build the drawer boxes themselves using drawer locking joints.
The process of building the base cabinet doors and drawer faces with a router was certainly more involved, but it was much more satisfying and left us with a really nice end product. We used 1x3 select pine stock for the frames and 1/4” plywood for the panels You can make raised door panels with thicker material if you would prefer, but we just used the 1/4” panels because it was cheaper, easier, lighter, and we actually prefer cleaner look of the flat panel. For the drawer fronts that were less than 6” in height, we just used 3/4” plywood.


